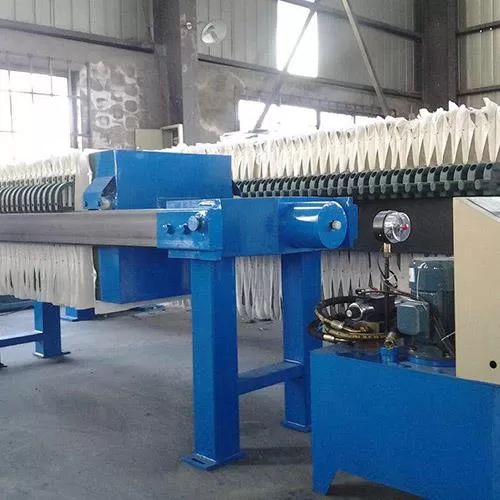
Maintaining your filter press cloth is essential for ensuring the efficiency and longevity of your filtration system. Over time, even with regular cleaning and maintenance, the filter cloth will wear down and need replacement to maintain optimal performance. In this guide, we will walk you through a detailed, step-by-step process for replacing your filter press cloth.

Why Replacing Your Filter Press Cloth is Important
Replacing your filter press cloth at the right time is crucial to the filtration process. Worn-out filter cloths can lead to several problems, including:
- Reduced filtration efficiency
- Longer filtration cycles
- Clogging and blinding of the cloth
- Increased downtime and maintenance costs
By knowing when and how to replace the filter cloth, you can avoid these issues and keep your filter press running smoothly.
Signs It’s Time to Replace Your Filter Press Cloth
Before diving into the replacement process, it’s essential to know the key signs that indicate it’s time to replace your filter press cloth:
- Blinding of the cloth: When the pores of the filter cloth become permanently clogged, cleaning can no longer restore its original filtration capacity.
- Frequent tears or damage: If you notice holes, tears, or thinning areas, it indicates that the cloth is no longer providing adequate filtration.
- Increased cycle time: If your filtration cycles are taking longer, it could mean the cloth has lost its efficiency.
- Poor cake formation: If you’re getting inconsistent or wet filter cakes, it could be due to a damaged or worn cloth.
Once you notice these signs, it’s time to replace the cloth to maintain maximum efficiency.
Step-by-Step Guide to Replacing Your Filter Press Cloth
Replacing the filter press cloth is a straightforward process if done carefully. Follow these steps for a smooth replacement procedure:
Step 1: Gather the Necessary Tools and Materials
Before starting, make sure you have all the necessary tools and materials on hand. You’ll need:
- Replacement filter press cloth(s)
- Wrenches or other tools to remove and secure parts
- Cleaning supplies to clean the filter plates
- Gloves and protective gear
Having everything ready will streamline the process and minimize downtime.
Step 2: Turn Off and Drain the Filter Press
To ensure safety during the replacement process, turn off the filter press and drain any residual slurry. Make sure the filter press is fully depressurized before proceeding with any disassembly.
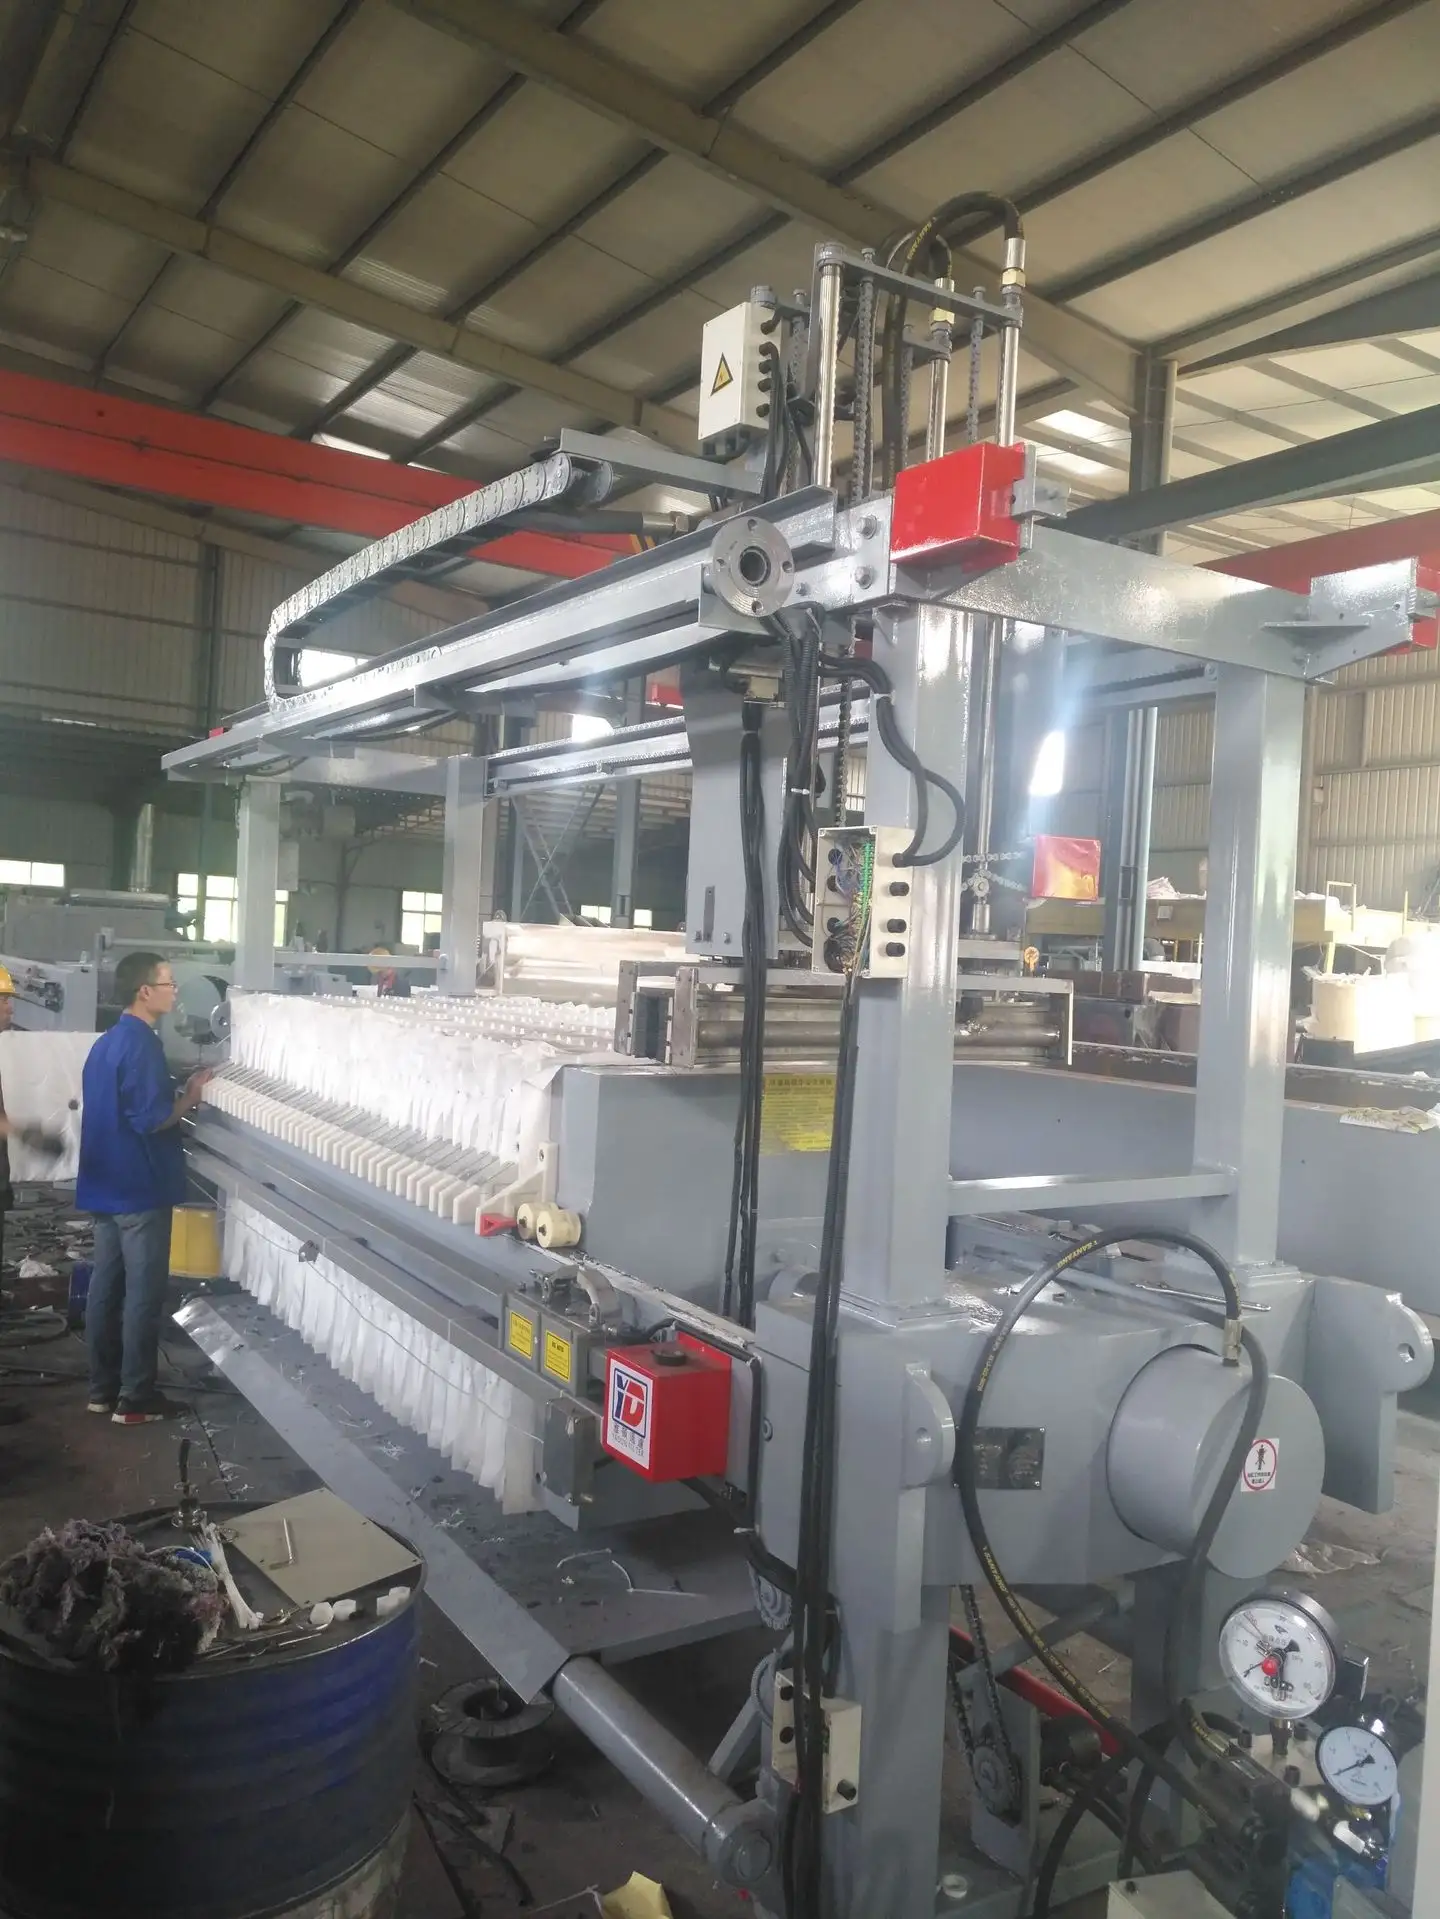
Step 3: Open the Filter Press
Once the filter press is drained and depressurized, open the filter press by separating the filter plates. Use the mechanical or hydraulic system of your filter press to release the plates for easier access to the filter cloths.
Step 4: Remove the Old Filter Press Cloth
Carefully remove the worn-out filter press cloth from each plate. Most filter cloths are secured with cloth fasteners, grommets, or cloth clips. Here’s how to remove the old cloth:
- For cloth with grommets: Unscrew or unclip the grommets from the filter plate.
- For cloth with fasteners: Remove the fasteners holding the cloth in place.
- For snap-on or velcro cloths: Simply detach the cloth from the plate by pulling it off gently.
Ensure you handle the cloth with care, especially if there’s residual slurry or cake attached.
Step 5: Clean the Filter Plates
Before installing the new filter press cloth, thoroughly clean the filter plates to remove any trapped particles, debris, or residues. Use high-pressure water or a cleaning solution appropriate for the type of slurry and filter press material. This will help improve the sealing and performance of the new cloth.
Step 6: Install the New Filter Press Cloth
Now, it’s time to install the new filter press cloth. The installation process will vary depending on the type of cloth attachment used in your filter press. Follow these steps for a successful installation:
- For grommeted cloths: Align the cloth with the filter plate holes and secure the grommets in place by screwing or clipping them back.
- For snap-on or Velcro cloths: Simply attach the cloth to the filter plate by pressing it firmly along the edges.
- For fastened cloths: Secure the cloth using the original fasteners, making sure the cloth is taut and positioned evenly.
Step 7: Inspect the New Installation
After installing the new filter press cloth, take a moment to inspect your work. Ensure the cloth is properly fitted, with no wrinkles, folds, or misalignments. This is important for preventing leaks and ensuring a proper seal during filtration.
Step 8: Close and Restart the Filter Press
Once you’re satisfied with the cloth installation, close the filter press and tighten any screws or parts that were loosened during the process. Restart the filter press, making sure everything is functioning correctly.
Step 9: Run a Test Cycle
To ensure the new filter cloth is installed correctly and functioning efficiently, run a test filtration cycle. Monitor the performance of the filter press, checking for:
- Proper cake formation
- Normal cycle times
- No visible leaks or cloth movement
If everything looks good, your filter press is ready to return to full operation.
Maintenance Tips After Replacing the Filter Press Cloth
Replacing the filter press cloth is an important maintenance step, but you can also take additional actions to extend the life of your new cloth:
- Regular cleaning: Clean the filter press cloth after each cycle to prevent clogging and blinding.
- Routine inspections: Periodically inspect the cloth for early signs of wear and tear to address issues before they worsen.
- Use compatible cleaning agents: Make sure any cleaning chemicals are compatible with the cloth material to avoid damage.
Conclusion
Replacing your filter press cloth is a key maintenance task that ensures your filtration system continues to operate efficiently. By following this step-by-step guide, you can safely and effectively replace worn-out cloths, reducing downtime and maintaining optimal filtration performance. Regular maintenance, timely replacements, and proper care will keep your filter press running smoothly for years to come.
FAQs About Replacing Filter Press Cloth
1. How often should I replace my filter press cloth?
The frequency of replacement depends on factors like the type of slurry, filtration frequency, and cloth material. Regular inspection will help determine when replacement is necessary.
2. Can I clean and reuse a filter press cloth?
Yes, filter press cloths can often be cleaned and reused. However, when the cloth shows significant wear or no longer provides efficient filtration, it should be replaced.
3. What tools do I need to replace a filter press cloth?
Basic tools such as wrenches, cleaning supplies, and protective gloves are usually required. Specific tools may vary based on your filter press model and the cloth type.
By maintaining and replacing your filter press cloth at the right time, you can maximize your filtration system’s efficiency and extend its lifespan.